How to Choose the Right Pour-Over Gear
Pour-over coffee is one of the most controllable, rewarding brewing methods—when you have the right gear. But with so many options on the market—from drippers to thermal servers—it’s easy to get overwhelmed. The key is understanding what gear truly makes a difference in extraction, flavor, and convenience, so you can invest wisely and brew better every time.
Our Top Picks
Affiliate disclosure: if you buy through these links, we may earn a commission at no extra cost to you.


This isn’t about chasing the latest craze; it’s about finding tools that elevate your routine without breaking the bank. Whether you're a weekend hobbyist or a committed home barista, selecting the right pour-over gear sets the foundation for clean, flavorful coffee that highlights the beans' unique characteristics.
Keith Titanium Pour-Over Coffee Gear Series (Ti3612 Pour-Over Kit (Ti3661+Ti3625))
$187.0Check PriceA recovered top-picks entry restored from the saved product data for this article.
STANLEY Perfect Brew Pour Over Set | 12 oz Camp Mug with Lid Included | Drip Coffee Maker with Reusable Filter | Insulated Stainless Steel | BPA-Free | Cream Gloss
$37.61Check PriceA recovered top-picks entry restored from the saved product data for this article.
BIG JOE® Large Pour Over Coffee Dripper (Durable BPA-Free Plastic) w/ 50 Filters - Brews 12 to 75 oz of Coffee into Any Mug, Carafe, or Thermos - Dishwasher Safe - Made in USA
$32.99Check PriceA recovered top-picks entry restored from the saved product data for this article.
Table of Contents
Table of Contents
- Understanding Pour-Over Styles & Materials
- Choosing the Right Dripper
- Selecting a Suitable Carafe or Server
- Importance of Grind Size & Consistency
- Accessories That Make a Difference
- Budget vs. Performance: Making the Right Investment
Understanding Pour-Over Styles & Materials
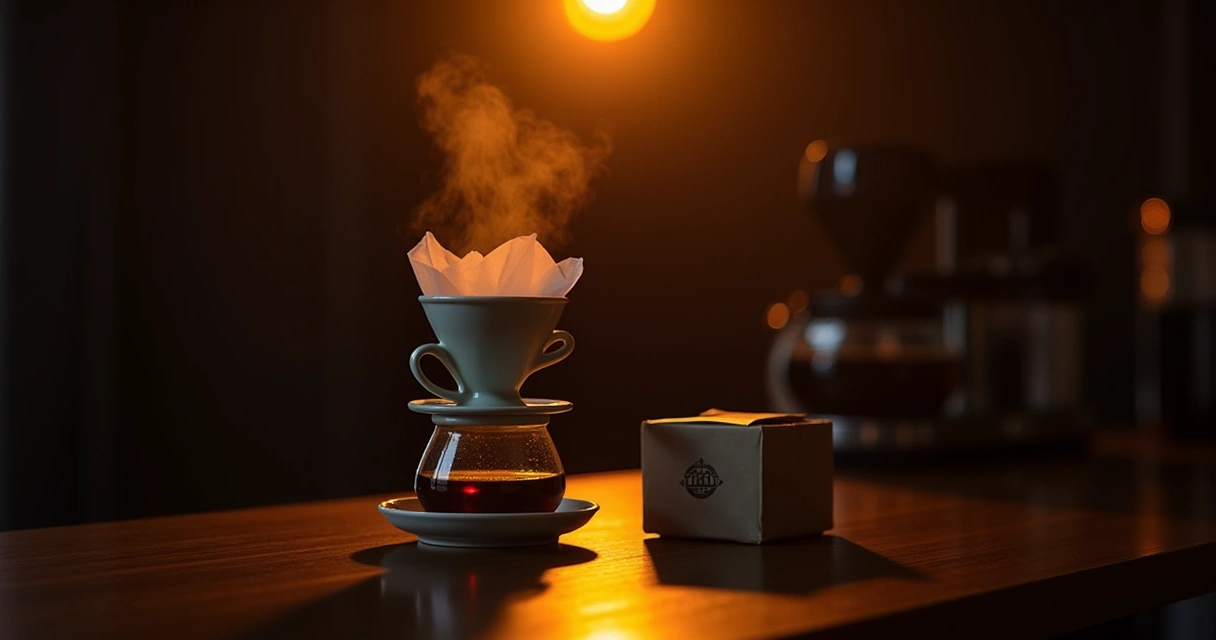
Pour-over equipment comes in a variety of styles—cone, cylinder, and flat-bottom—and materials like ceramic, glass, stainless steel, and even plastic. Each has its pros and cons, mainly related to heat retention and corrosion. For most home setups, ceramic or glass drippers are popular because they don't heat unevenly and clean easily.
While plastic or lightweight aluminum can be budget-friendly, they often lack the heat stability that ensures even extraction. Remember, the real key to great pour-over coffee is consistent temperature and flow rate, which good materials help maintain. Don’t chase aesthetics at the expense of function, especially if the gear compromises temperature stability over multiple brews.
Choosing the Right Dripper
The heart of your pour-over setup is the dripper. The most common options are Hario V60, Kalita Wave, and Bee House. Each has a distinct extraction profile. The Hario V60’s conical shape and large, single opening promote a faster, more vibrant brew—ideal for highlighting delicate notes.
The Kalita Wave’s flat-bottom and wavy design encourage more uniform extraction, thanks to its three-point filter support. This makes it forgiving for beginners and helps with consistency. The Bee House, with its wide, shallow ceramic bowl and smaller opening, offers a slower flow that can bring out richness in darker roasts.
Tip: Your choice depends on your roast profile and taste preferences. If you want bright, lively cups, the V60 is hard to beat. For a mellow, balanced cup, Kalita delivers reliably.
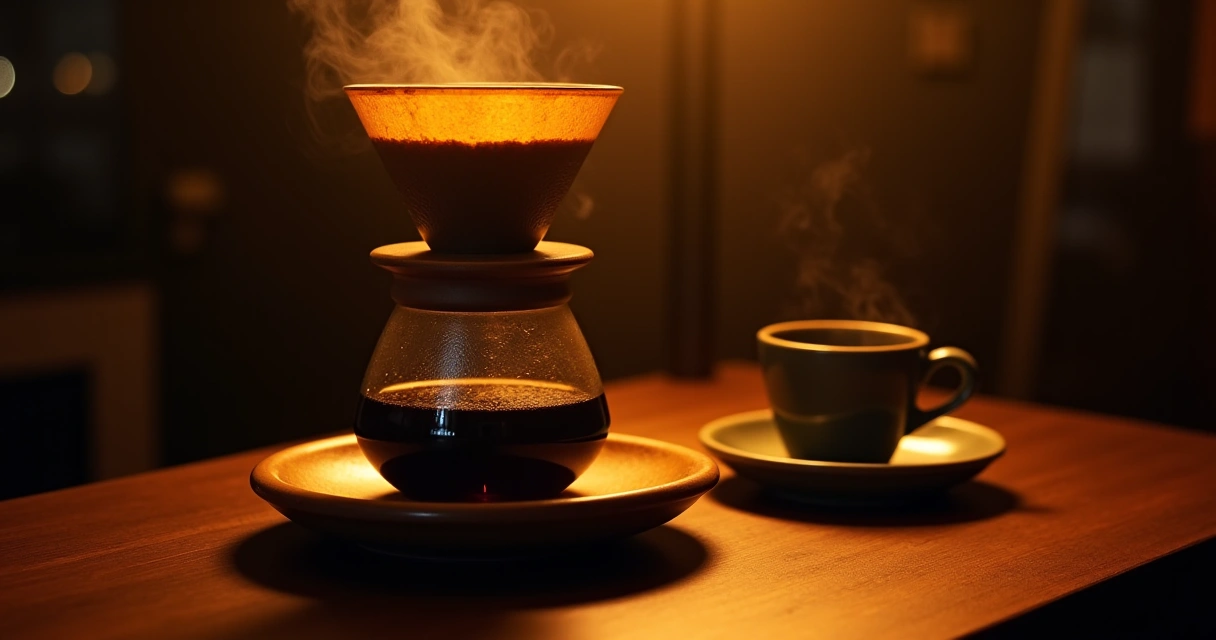
Selecting a Suitable Carafe or Server
The right server not only keeps your coffee warm but also influences pour rate and ease of brewing. Glass servers are affordable and beautiful but do little for heat retention. Thermal carafes, often made of stainless steel, help keep coffee hot longer and prevent heat loss during longer pours.
If you’re pouring slowly or making multiple cups, a thermal server becomes a smart choice—especially if you want to avoid reheating or losing that fresh flavor. For solo brews, a simple glass beaker with a lid works fine, but as volume increases, investing in a good thermal option pays off in flavor stability.
Pro Tip: Match your server size to your typical batch—something 12-20 oz. for daily use usually strikes the perfect balance between size and practicality.
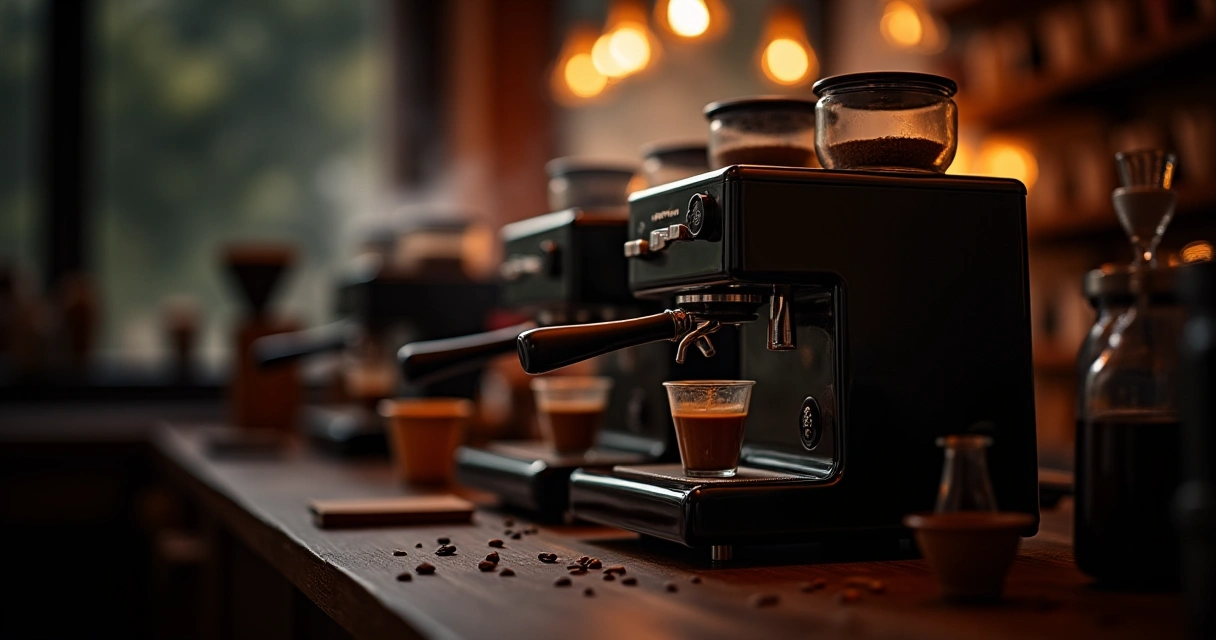
Importance of Grind Size & Consistency
Your grind is arguably the most critical variable in pour-over brewing. A too-fine grind can cause over-extraction and clog your filter, leading to bitter, sluggish pours. Too-coarse results in weak, under-extracted coffee with flat flavors. Aim for a medium grind—similar to sea salt—as your starting point.
Consistency matters more than anything. A burr grinder—preferably conical—delivers uniform grind size, making your extraction more predictable. A good grinder might cost a bit, but cheap blade grinders produce uneven particles which sabotage your brew’s clarity and balance.
Accessories That Make a Difference
Nobody needs dozens of tools, but a few thoughtful accessories elevate your pour-over game. A quality digital scale with a timer ensures precise dosing and extraction control—aim for 15 grams of coffee per 250 ml of water as a starting point. A gooseneck kettle lets you pour slowly and steadily, crucial for even saturation and bloom.
Other helpful accessories include a coffee scoop for consistent dosing, a thermometer for checking water temp, and a set of reusable filters if you’re eco-minded. A sturdy stand and easy-to-clean dripper holder make routine use more convenient, too.
Budget vs. Performance: Making the Right Investment
Good pour-over gear can range from budget-friendly to high-end. While it’s tempting to chase the fancy gear, remember: your brewing technique and coffee quality matter more than the price tag. A solid ceramic V60 and a good kettle can be affordable but deliver excellent results.
On the other hand, if you’re brewing daily and want maximum control and durability, investing in a ceramic dripper with a high-quality conical grinder and a thermal carafe makes sense. It’s about matching your gear to your coffee goals and budget.
Honest advice: don’t buy a $50 dripper with the expectation of making cafe-quality coffee if your grind and measurements are inconsistent. Set yourself up with reliable, foundational tools first—then upgrade as your skills grow.
Frequently Asked Questions
Can I use paper filters with any dripper?
Mostly, yes. Just ensure the filter size matches the dripper. Some brands have their own proprietary filters, but universal options like Hario V60 or Kalita Wave filters are widely compatible and affordable.
How do I know if my grind is right?
Start with a medium grind, and if the coffee drains too quickly (less than 2 minutes), coarsen the grind. If it’s sluggish or takes longer than 4 minutes, go finer. Consistent timing is key to predictable extraction.
Should I pre-wet my filters?
Absolutely. Rinsing filters removes papery taste and preheats the dripper and carafe, which helps maintain temperature during brewing.
What's the biggest mistake to avoid with pour-over?
Inconsistent pouring technique—pouring too fast, uneven saturation, or rushing through the bloom can ruin extraction. Practice slow, deliberate pours to maximize flavor.
Can I make pour-over coffee without a scale?
It’s possible, but using a scale provides accuracy and repeatability. If you’re serious about brewing consistently good coffee, a simple digital scale is well worth the investment.
Do I need special kettles for pour-over?
A gooseneck kettle is highly recommended for precise, controlled pouring. You can use a normal kettle, but you’ll find it harder to maintain a gentle, even flow necessary for optimal extraction.
Choosing the right pour-over gear isn’t about having the fanciest equipment; it’s about understanding your needs and the fundamentals of brewing. Start simple, focus on consistency, and gradually upgrade. Great coffee begins with great gear—made better by your attention to detail. Happy brewing!