How to Calibrate Your Coffee Grinder for Optimal Spring Brewing Performance at Home Under $20
If you're serious about consistently great coffee—whether it's a silky espresso shot, a nuanced pour-over, or a robust cold brew—you already know that grind size is king. Even the best beans can be let down by a grinder that's out of calibration. Luckily, you don’t need expensive tools or complex routines to dial in your grinder and unlock the full potential of your beans. Starting from a stable baseline with proper calibration will make your coffee taste crisp, rich, and properly extracted—regardless of your brewing method.
Our Top Picks
Affiliate disclosure: if you buy through these links, we may earn a commission at no extra cost to you.

Today, I’ll walk you through a simple, budget-friendly approach to calibrate your grinder—under $20—that works for most manual and entry-level electric grinders. Whether you're working with a budget burr grinder or a blade model, these steps will help you punch above your weight and avoid the bitterness or sourness of uneven extraction.
Baratza Encore ESP Coffee Grinder ZCG495BLK, Black
$199.95Check PriceA recovered top-picks entry restored from the saved product data for this article.
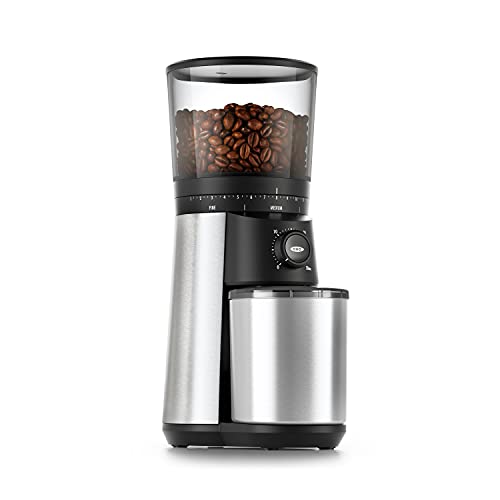
OXO Brew Conical Burr Coffee Grinder - Silver, Stainless Steel Burrs, One-Touch Automatic Smart Grind
$102.99Check PriceA recovered top-picks entry restored from the saved product data for this article.
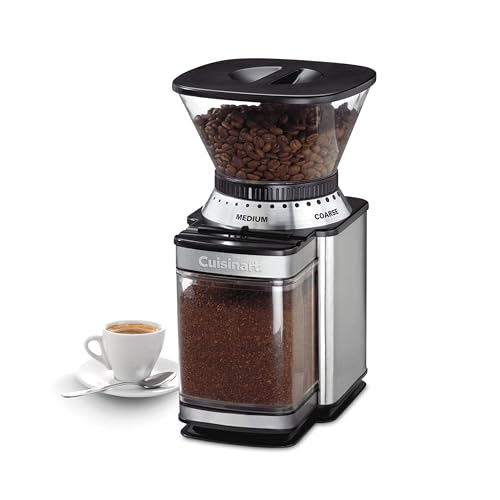
Cuisinart Coffee Grinder, Electric One-Touch Automatic Burr Coffee Grinder with 18-Position Grind Selector, Cup Size Selector for 4 – 18 Cups, DBM-8P1, Black Stainless
$53.99Check PriceA recovered top-picks entry restored from the saved product data for this article.
Table of Contents
Table of Contents
- Why Calibration Matters
- Gather Your Tools
- Initial Setup & Baseline
- Adjust for Your Brew Method
- Fine-Tuning and Testing
- Maintenance & Long-Term Calibration Tips
- Can I calibrate any grinder?
- How often should I recalibrate?
- What if I only have a blade grinder?
- Are there specific tools for under $20?
- How do I know when my calibration is perfect?
FAQs
Why Calibration Matters
A correct grind size is fundamental for achieving optimal extraction—bright acidity, full-bodied richness, and balanced bitterness. When your grinder is off, you risk under-extracting (sour, weak coffee) or over-extracting (bitter, harsh flavors). Calibration is about setting your grinder so that each dose produces a consistent particle size suited for your brewing method.
Most inexpensive grinders tend to drift over time, especially if they’re used daily. Calibration isn’t just about initial setup; it’s an ongoing process. Properly calibrated grinders provide more predictable results, saving you time and coffee beans in the long run. For under $20, a little ownership of your grinder transforms your kitchen into a pro-level coffee station.
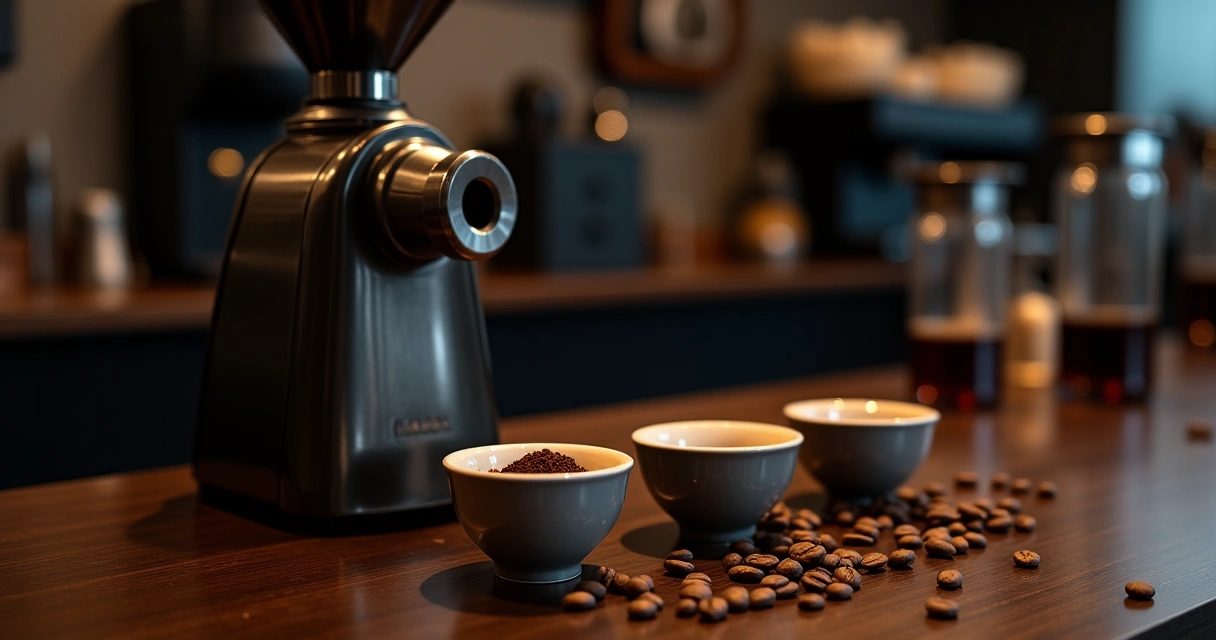
Gather Your Tools
Here’s the good news: the only tools you need for this calibration are accessible and cheap. Most essential is a precise coffee scale—ideally with 0.1g resolution—and a container to catch and measure your ground yield. If you already own a small set of weights or a measuring scoop, great. Otherwise, spending under $10 on a digital kitchen scale is worthwhile. You won’t regret knowing exactly how much coffee you're dosing.
Optional but helpful: a marker or tape to note grind settings, and a username or reference point for consistency. Some manual grinders have numbered adjustments or threading markers; for electric models, note the current setting so you can tweak gradually.
Initial Setup & Baseline
Start with your grinder at the factory or your usual setting. Use a consistent dose—say, 18 grams for espresso or 20 grams for pour-over. Run the grinder and measure both the dose and the grind consistency. If your grinder allows a “coarse” to “fine” adjustment, choose a middle ground as your starting point.
Adjust for Your Brew Method
For espresso, aim for a very fine, uniformly consistent grind—almost powdery but with some resistance. For pour-over or drip, set a medium grind resembling coarse sand. French press generally benefits from a rougher, more inconsistent grind for a slower extraction. Moka pots fall somewhere in between, with a fine but not powdery size.
Make small adjustments—think of it as tuning a musical instrument. Turn the grind adjustment in tiny increments, ideally no more than a quarter turn at a time. Always run a fresh dose and note if extraction improves or deteriorates. The goal is a consistent particle size within ±10%, which leads to more predictable extraction and flavor clarity.
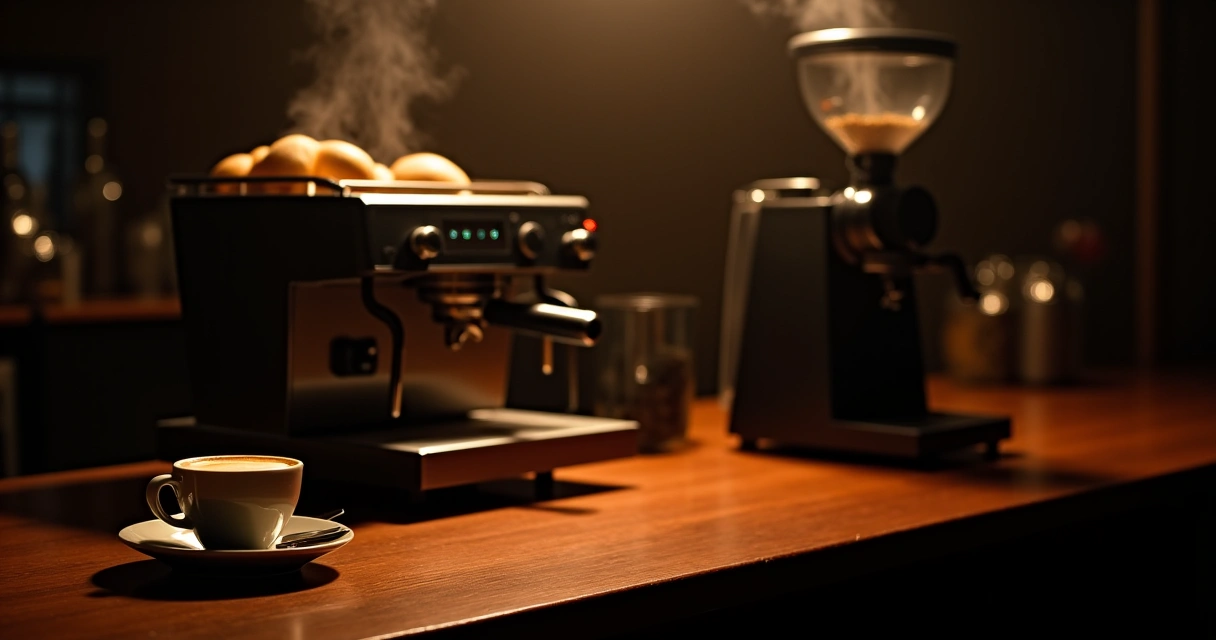
Fine-Tuning and Testing
Once you have a rough calibration, test your grind with a brew. Brew a shot or a cup, then evaluate the extraction time—ideally, 25–30 seconds for a shot of espresso or around 3–4 minutes for pour-over. Adjust the grind size slightly if the pour or shot pulls too quickly (over-extracted) or too slowly (under-extracted).
Remember: small, gradual tweaks yield the best results. Avoid brute-force adjustments, as they can cause inconsistency or damage delicate components, especially on manual grinders.
Maintenance & Long-Term Calibration Tips
For long-term consistency, clean your grinder regularly—every few weeks if used daily. Remove residual grinds from burrs and chutes, which can cause uneven particle size. Use a dry brush or a cloth. Don’t use water unless specified by the manufacturer—moisture can lead to corrosion.
Periodically re-calibrate by repeating the process, especially when switching brands or roast levels. Beans with different moisture content or roast profiles may require subtle adjustments. Keep your notes and stay attentive to the extraction times and flavor profiles you desire.
Frequently Asked Questions
Can I calibrate any grinder?
Most manual and basic electric grinders can be calibrated using these methods. However, very cheap blade grinders often lack adjustability and may not benefit much from calibration. For those, the key is consistency in dosing rather than precise particle sizing.
How often should I recalibrate?
Recalibrate every few weeks if you’re brewing daily or whenever you switch beans or roast levels. Also, if you notice inconsistent extraction or flavor, it’s time to revisit your settings.
What if I only have a blade grinder?
Blade grinders are less precise, but you can still get decent results by pulsing to approximate a grind size—aim for a consistent pattern and measure your dose carefully. Keep in mind, calibration is limited, so focus on habitually dosing the same amount and timing for repeatability.
Are there specific tools for under $20?
A reliable kitchen scale with 0.1g precision is the best investment. Some small weight sets (50g, 100g, etc.) can help if your precision scale isn't perfect. A marker for note-taking and a small brush or toothbrush also help keep things consistent.
How do I know when my calibration is perfect?
Perfect calibration yields a consistent grind particle size that produces your target extraction time, flavor clarity, and body suited for your brewing method. It’s about repeatability—each brew should taste reliably good and have similar extraction metrics.
Getting your grinder dialed in at home doesn’t require deep pockets—just accurate measuring, small adjustments, and patience. When your grinder becomes a reliable tool, you’ll taste the difference in every cup, whether it’s a morning espresso or an evening cold brew. Take control, keep notes, and enjoy the journey toward better coffee.
Next step? Pick your current grinder, gather your scale, and start dialing in. Your taste buds—and your espresso machine—will thank you.
Frequently Asked Questions
How do I choose the right calibration method for my specific coffee grinder type?
To calibrate your grinder, first identify whether you have a burr or blade unit; burr grinders typically require adjusting the hopper and burr gap, while blade grinders need consistent pulse timing. Follow the manufacturer's manual to align these settings with your desired brew method, such as espresso or pour-over.
Is it worth investing in a calibration tool for my home coffee setup?
Yes, using a dedicated calibration tool ensures precise adjustments that prevent over-extraction or under-extraction. This investment pays off by maintaining consistent flavor profiles across different bean batches without needing expensive professional equipment.
What is the best way to calibrate a grinder for French press coffee?
For French press, aim for a coarse grind by widening the burr gap on your grinder until you achieve uniform particles similar to sea salt. Test this setting with a small batch to ensure no fine grounds pass through, which could make your coffee bitter.
How do I calibrate my espresso machine grinder for optimal extraction?
Start by adjusting the grind size to produce an even puck that fills the portafilter without channeling. Fine-tune the setting until you achieve a shot time between 25 and 30 seconds with balanced acidity and sweetness.
How do I choose the correct calibration frequency for my daily coffee routine?
Calibrate your grinder every time you switch to a new bean variety, as different roasts require specific grind sizes. Additionally, perform a quick check weekly if you notice inconsistent extraction or uneven particle distribution.
What tools are needed to calibrate a manual coffee grinder under $20?
You will need a set of precision scales to weigh your grounds and a few test batches of coffee beans. These affordable tools allow you to measure extraction yield accurately without purchasing expensive electronic calibration kits.
How do I calibrate my drip coffee maker grinder for consistent morning brews?
Adjust your grinder to a medium setting that matches the manufacturer's recommended grind size for drip machines. Run a test brew and check if the water flows evenly through the grounds without pooling or draining too quickly.