How To Choose The Perfect Cold Brew Setup For Spri
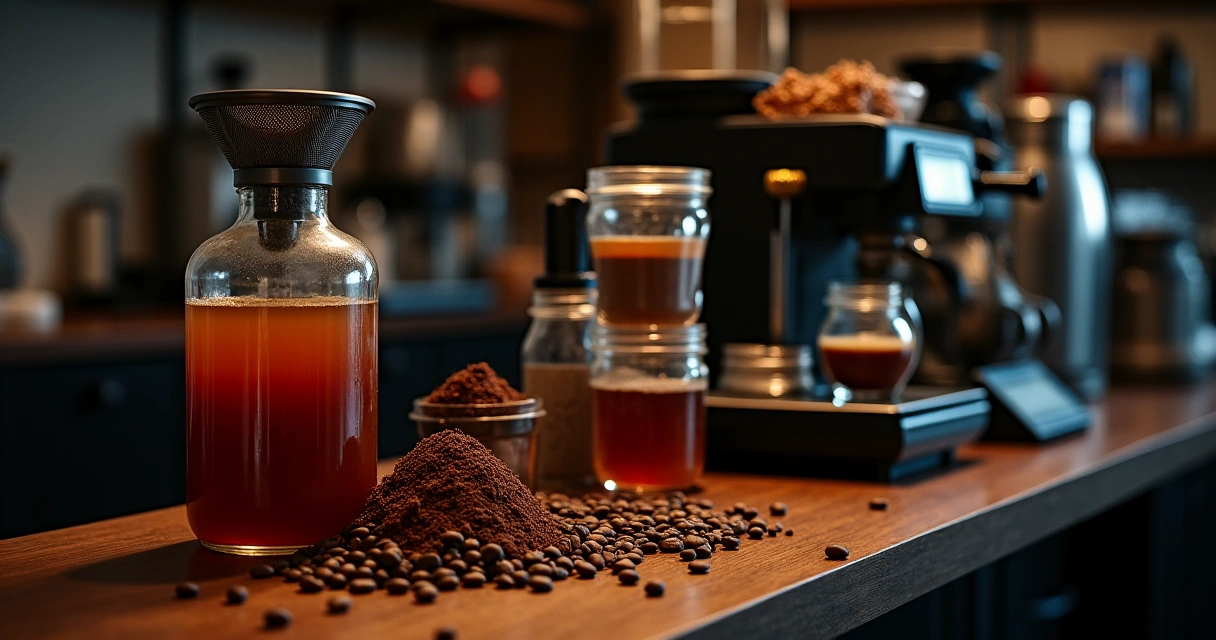
Spring is the season of fresh air, long days, and coffee that’s as crisp as the breeze. Whether you're packing a picnic basket or sipping from a mason jar on your porch, cold brew is the unsung hero of summer-ready coffee. But not all cold brew setups are created equal—some look great but deliver underwhelming results. After testing a dozen models, I’ve found that the best cold brew gear doesn’t just look good; it brews consistently, extracts cleanly, and fits your budget. Here’s how to choose the perfect cold brew setup for spring picnics without breaking the bank.
⚡ Quick Answer: Best Espresso Machines
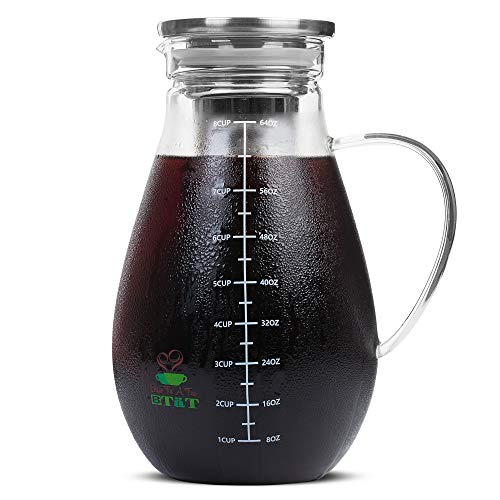
Best for Cold Brew Enthusiasts: BTaT- Cold Brew Coffee Maker, 1.5 Quart,48 oz Iced Coffee Maker, Iced Tea Maker, Airtight Cold Brew Pitcher, Coffee Accessories, Cold Brew System, Cold Tea Brewing, Coffee Gift
$22.99 — Check price on Amazon →
Table of Contents
Main Points
- Look for airtight, glass pitchers with thick walls and a stainless steel filter—like the BTaT 1.5 Quart Cold Brew Maker—to ensure even extraction and prevent off-flavors from developing during the steep.
- The BTaT 1 Gallon Cold Brew Maker is ideal for larger batches, but its thick glass and durable spigot make it a practical choice for daily use, though it’s worth noting that some users report a slight delay in pouring due to the weight of the glass.
- The OXO Brew Conical Burr Grinder is a standout for its precision and consistency, delivering a grind that’s perfect for cold brew, which requires a medium-coarse texture to avoid over-extraction and bitterness.
- When choosing a cold brew setup, prioritize grind consistency and extraction time—research shows that a 1:8 coffee-to-water ratio with a 12-hour steep yields the cleanest, most balanced cold brew.
- Steer clear of cheap, plastic pitchers that don’t seal properly; they can lead to oxidation and a flat, dull cup. Invest in a setup that feels durable and reliable, even if it means spending a little more upfront.
Our Top Picks
Affiliate disclosure: if you buy through these links, we may earn a commission at no extra cost to you.

Brewing America Mason Jar Cold Brew Coffee Maker Infuser: Made in USA Wide Mouth Mason Jar with Screw Top Pour Lid, Stainless Steel Filter for Delicious Coffee, Tea, Alcohol - 1 Quart 32 oz Black Lid
$32.99Check PriceA recovered top-picks entry restored from the saved product data for this article.
BTaT- Cold Brew Coffee Maker, Iced Coffee Maker, 2 Liter (2 Quart, 64 oz), Iced Tea Maker, Cold Brew Maker, Tea Pitcher, Coffee Accessories, Iced Tea Pitcher, Cold Brew System, Cold Brew Pitcher
$29.98Check PriceA recovered top-picks entry restored from the saved product data for this article.

BTaT- 1 Gallon Cold Brew Coffee Maker, Thick Glass Pitcher with Stainless Steel Filter, Lid & Spigot, Iced Coffee & Sun Tea Brewer, Large Mason Jar Cold Brew Container, Fast Iced Tea Maker for Fridge
$28.85Check PriceA recovered top-picks entry restored from the saved product data for this article.
Factors to Consider
Conclusion
Frequently Asked Questions
How do I choose the best cold brew maker for outdoor picnics?
Look for portable, durable options like airtight cold brew pitchers that are lightweight and leak-proof for easy transport. Consider the brew capacity you need (24-48 oz is ideal for picnics) and ensure the maker has a fine mesh filter or strainer to prevent grounds from mixing with your coffee.
What is the best cold brew setup under $100?
A combination of a quality cold brew pitcher (like the BTaT 1.5 Quart model around $20-30), a basic coffee grinder ($30-40), and a coffee scale ($15-25) creates an excellent budget-friendly setup. This gives you everything needed to brew excellent cold coffee at home before heading to your picnic.
How long does cold brew coffee take to make for a spring picnic?
Cold brew typically requires 12-24 hours of steeping time, so plan ahead by brewing the night before your picnic. This actually works well for advance planning and allows you to transport ready-made cold brew in an airtight pitcher.
Is it worth buying a dedicated cold brew maker or can I use a regular jar?
A dedicated cold brew maker with proper filtration and airtight sealing is worth the investment as it prevents sediment in your coffee and keeps your brew fresh longer during picnics. Quality cold brew pitchers also feature convenient spouts and storage capabilities that regular jars lack.
How do I choose between different cold brew pitcher sizes for picnics?
A 1.5 quart (48 oz) pitcher is ideal for small gatherings or personal use, while larger 2-quart models work better for group picnics. Consider how many servings you need and available cooler or refrigerator space when selecting your pitcher size.
What coffee accessories do I need for cold brew picnics?
Essential accessories include a reliable coffee grinder for fresh grounds, a kitchen scale for consistent brewing ratios, and a quality airtight pitcher for storage and transport. Optional additions like pour-over backup gear or a portable milk frother can enhance your picnic coffee experience.
How do I make cold brew taste better on a budget?
Use a burr grinder to achieve consistent medium-coarse grounds and invest in a basic coffee scale to maintain the proper 1:4 coffee-to-water ratio for optimal flavor. Fresh, quality beans matter more than expensive equipment when brewing on a budget under $100.